BOOK THIS SPACE FOR AD
ARTICLE AD
With yesterday's leak of a preview build for Windows 11, many users have quickly shared their opinion regarding how they felt about the new Start Menu. If you are not a fan of the new Start Menu layout, Microsoft has included a setting that lets you revert back to the classic Start Menu.
In the leaked preview build of Windows 11, users got their first glimpse of Microsoft's next generation of Windows and quickly focused on the new Start Menu.
The new Windows 11 Start Menu is taken from the now-shelved Windows 10X and has significant differences from the Classic Start Menu, including a floating pane and a redesigned layout.
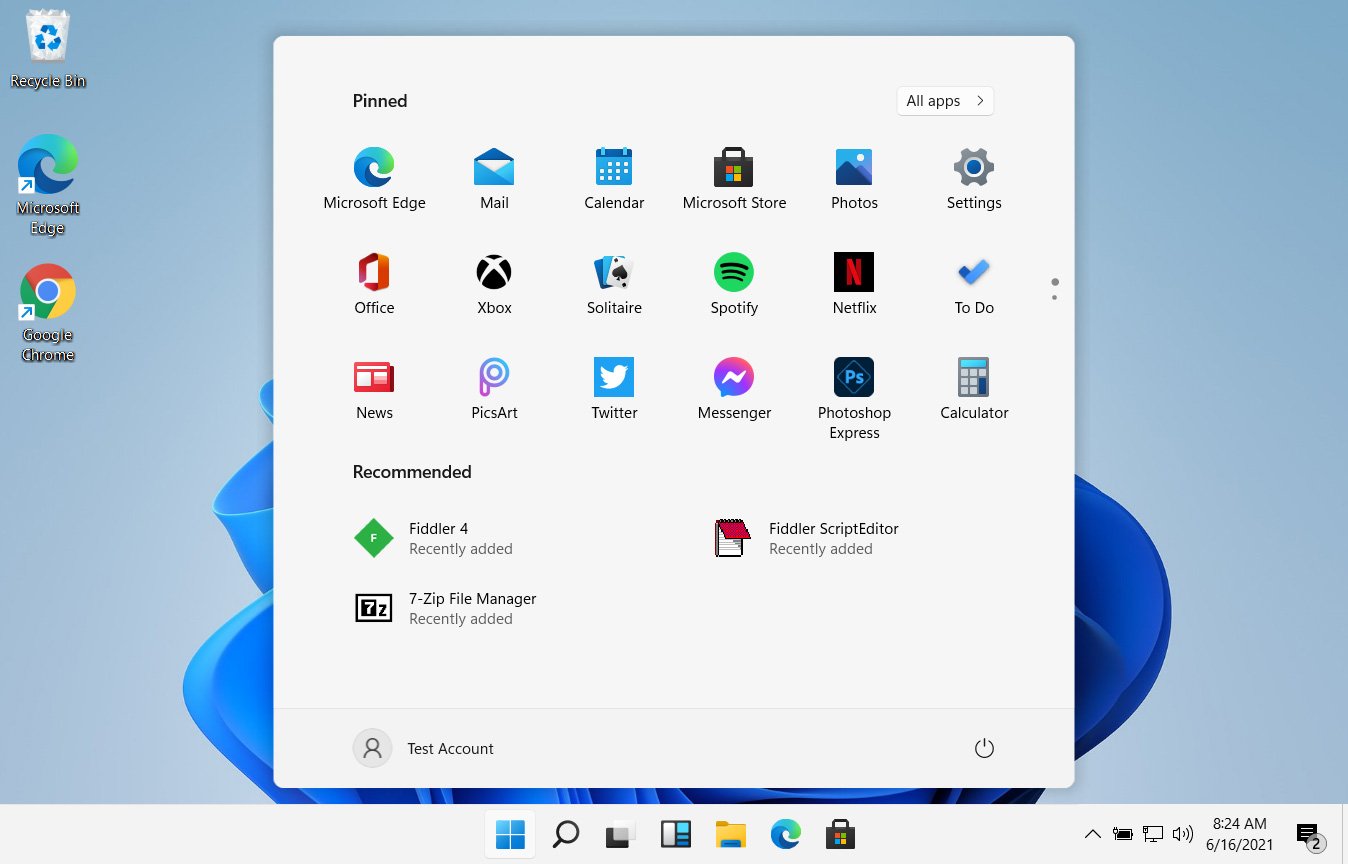 The new Windows 11 Start Menu
If you are not a fan of the new Windows 11 Start Menu, Microsoft has added a 'Start_ShowClassicMode' Registry value that allows you to revert back to the classic Windows 10 Start Menu.
Windows 11 tip: HKEY_CURRENT_USER\Software\Microsoft\Windows\CurrentVersion\Explorer\Advanced\Start_ShowClassicMode DWORD=0x1 to enable classic Start pic.twitter.com/xIfyCw68z9
— Rafael Rivera (@WithinRafael) June 15, 2021Once you enable this registry key and either reboot Windows 10 or restart Windows Explorer, the classic Start Menu will be shown again, as seen below.
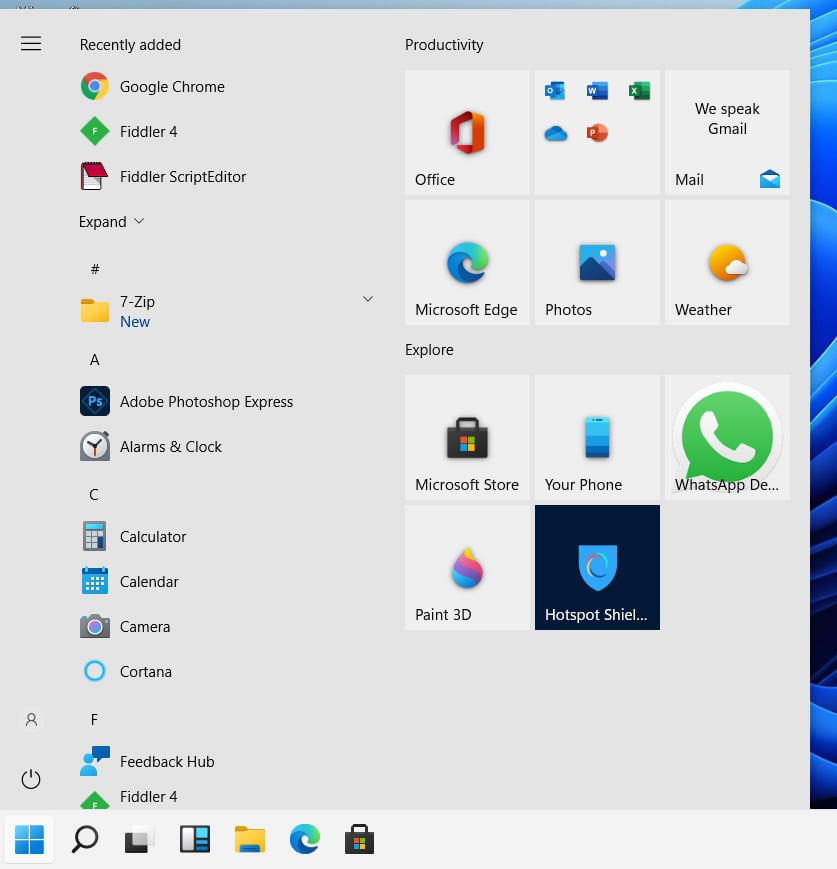 Windows 11 using the classic Start Menu
How to force Windows 11 to use the classic Start Menu
To enable the Windows 10 Start Menu in Windows 11, you can either download a Registry file that can enable the feature for you or modify the Windows Registry to enable the feature.
The easiest method is to simply download the show-classic-start-menu.reg Registry file and save it to your desktop. Once downloaded, double-click on it, and when prompted, select Yes at the UAC prompt followed by Yes at the prompt asking if you wish to add the data, as shown below.
 Import Registry file prompt
If you want to manually enable the Windows 10 Start Menu in Windows 11 via the Registry, you can follow these steps:
Click the Start button, type regedit, and select Registry Editor when displayed, as shown below.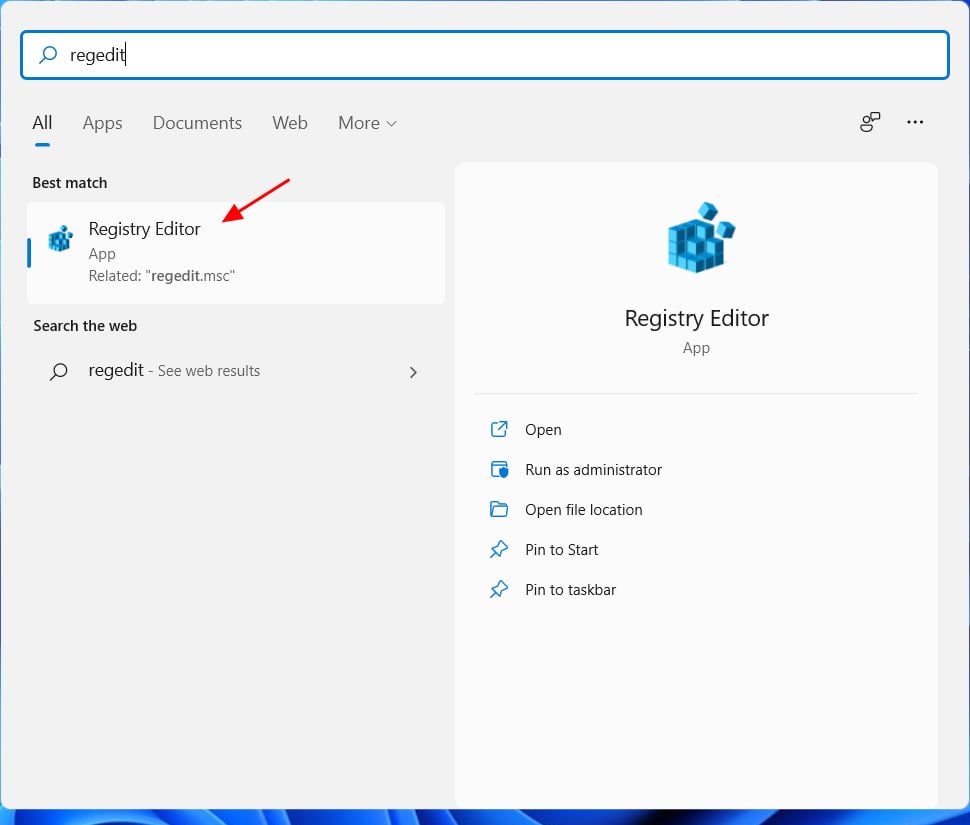 Open Registry Editor
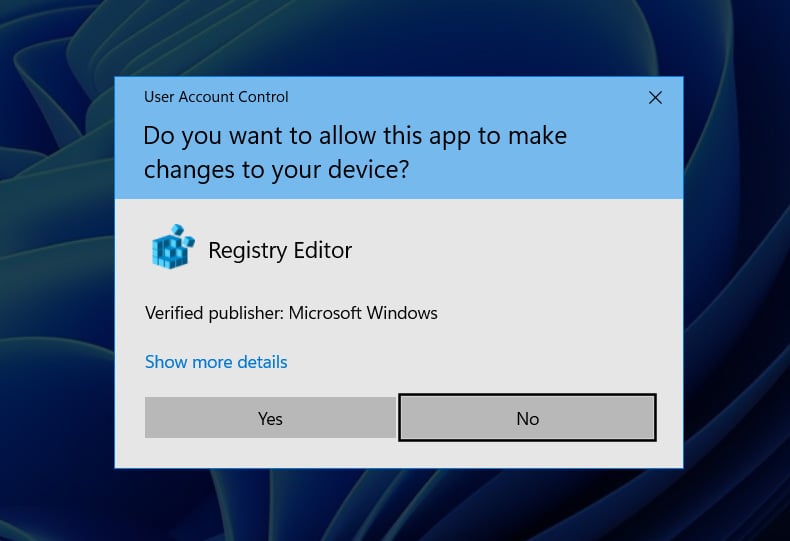 UAC prompt
HKEY_CURRENT_USER\Software\Microsoft\Windows\CurrentVersion\Explorer\Advanced\
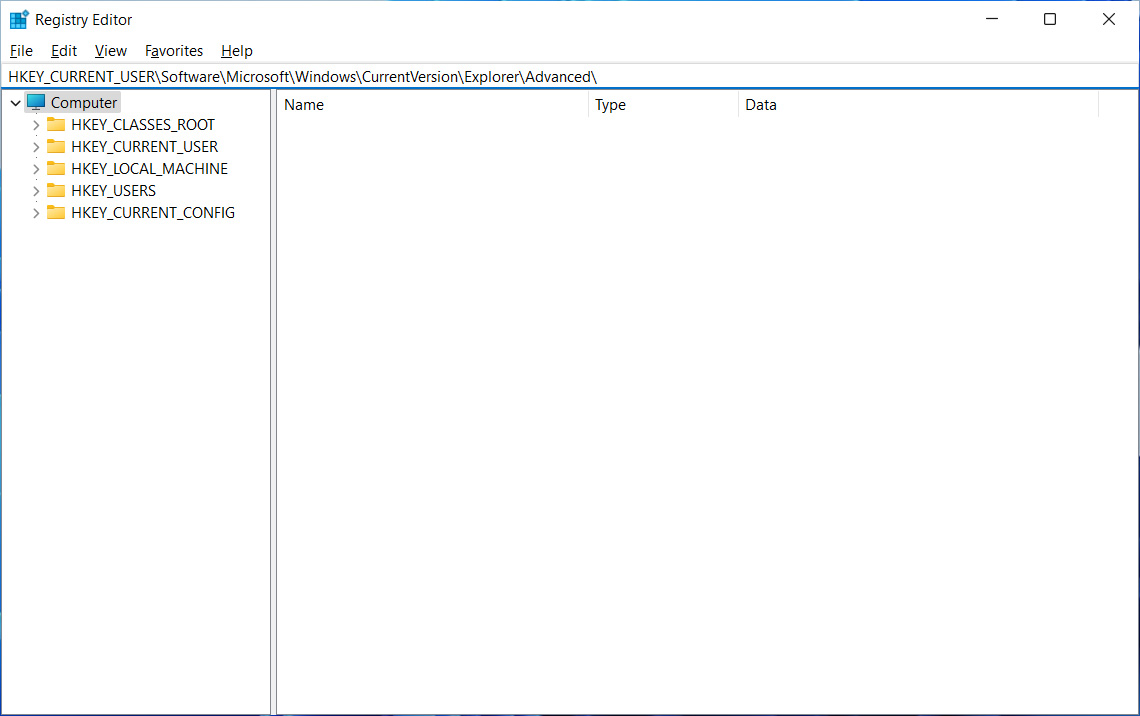 Enter path into the Registry Editor
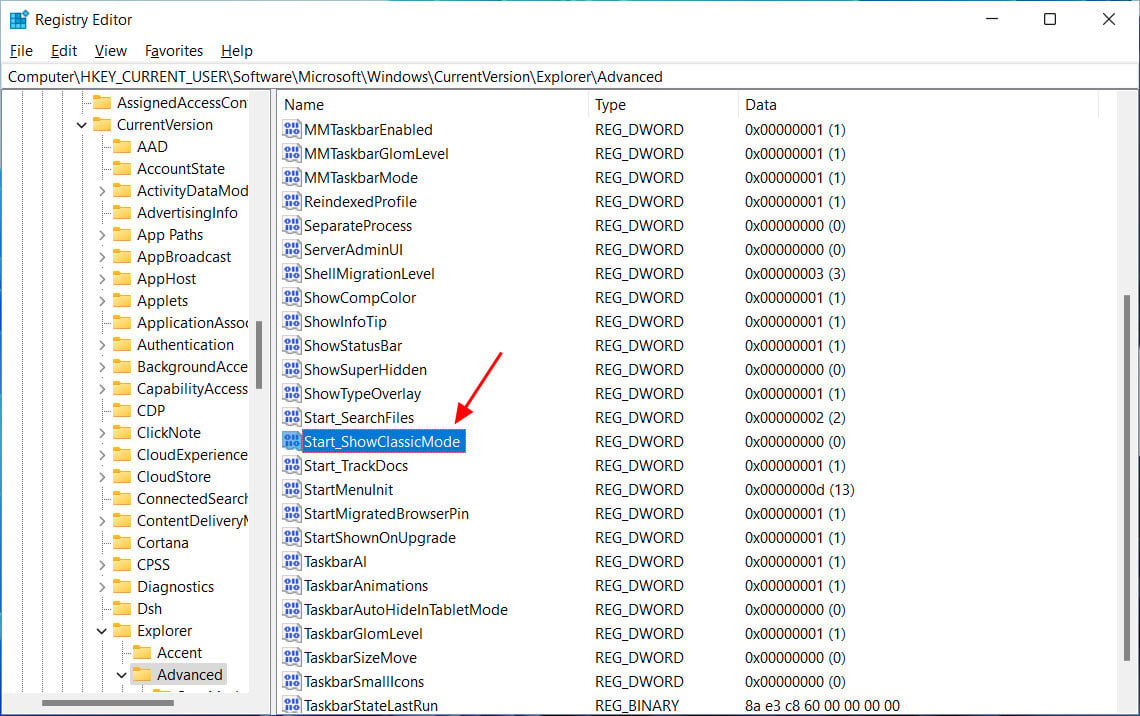 Find the Start_ShowClassicMode value
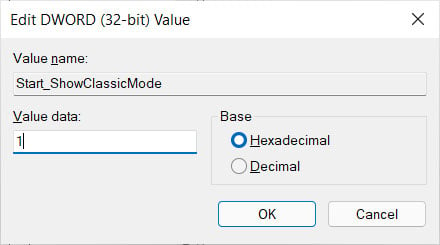 Set the Start_ShowClassicMode value to 1
You will now be shown the classic Windows 10 Start Menu when you click on the Start button
.png)


 Bengali (Bangladesh) ·
  English (United States) ·